Wubblegum 2.0
August 16, 2023 · 876 words · 5 min
An All-in-one security tool for smartcards!
Introduction
Backstory
For my internship, I was required to produce something novel that might be beneficial to the Cybersecurity community. I partnered up with Daniel Bernard for this project where we re-made a smartcard reconnaisance tool called “wubblegum”, which was made by Daniel Crowley at IBM.
We were given essentialy 3 goals by Mr. Crowley for this remake:
Make this tool easier to use
Implement a console that takes “English” arguments
Implement a Vulnerability Scanner
The rest of this article shows, through various GIFs, what we presented to the Executives of the department.
Enumerator
Starting with the Enumerator, The user has to click on the “Tool” button at the top of the window to display the dropdown. From there, they can select the Enumerator.
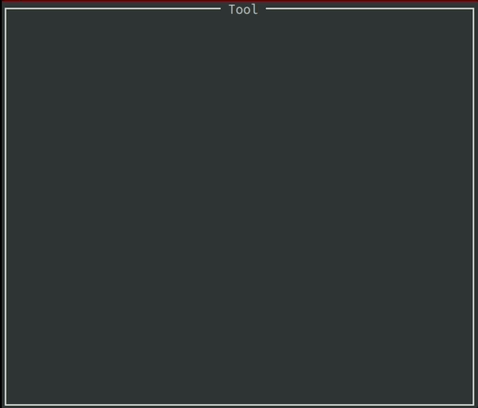
After clicking for the Enumerator, you are presented with the Settings Window where you can fine tune the aspects of the card you’d like to bruteforce.
You can specify which parts of the Command APDU packet to look for.
You can specify if you want to be a little strict and stick to the ISO standard, or enumerate for everything.
These are just the basic settings. You can have more granular control by clicking the advanced button at the bottom. From there you can edit things like APDU ranges and the Ban List.

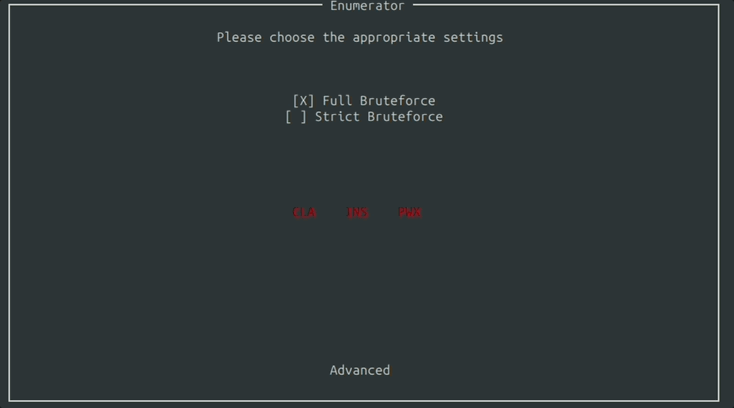
After selecting your options and pressing the enter, the tool begins to run and outputs to the window.
The output is filtered through the Ban List, to ignore Command APDU packets that produce irrelevant responses from the card.
Eventually, the output will reach the end of the window. When that happens, you can simply scroll with the “W” and “S” keys.
Mapping
In our efforts to further lower the knowledge barrier to use this tool, we developed a Mapping Window where you can see the supported commands of the card in a more intuitive way.

Here in the demo above, the Mapping Window displays all valid commands that the card supports.
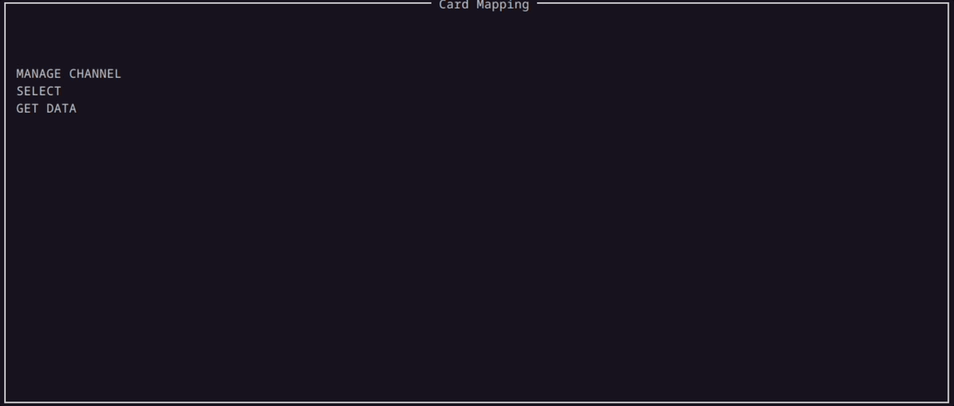
When the enumerator starts to enumerate the parameters for the Command APDU packet, the parameters are populated under the corresponding commands in the Mapping Window in a tree like structure.
Vulnerability Scanner
Moving on to the Vulnerability Scanner, it is the same process as before to access this tool.
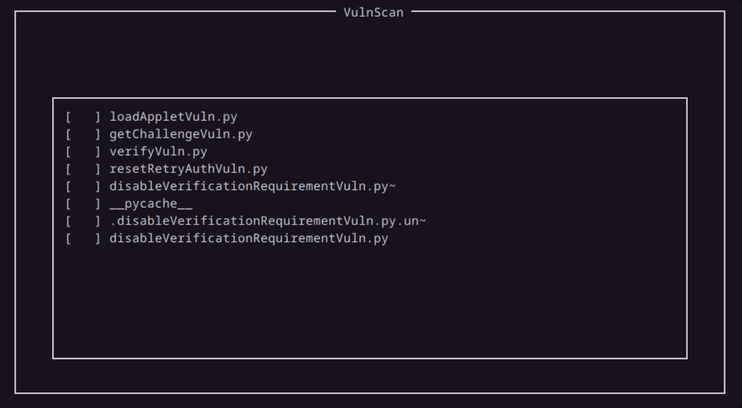
The Vulnerability Scanner is designed to utilize external Python scripts. The logic behind this design choice was to promote collaboration amongst users by sharing scripts with others.
We had developed a handful of scripts ourselves, and had hoped that overtime this list would grow from the community.
This demonstartion uses the last script, which checks to see if it is possible to disable verification on the card currently in use.
And and after the script runs, the results are populated in the tool window.
This is just one of a handful of scripts we made for the program. Another script can detect if it’s possible to upload malicious programs to the card in a form of an applet.
Interactive Console
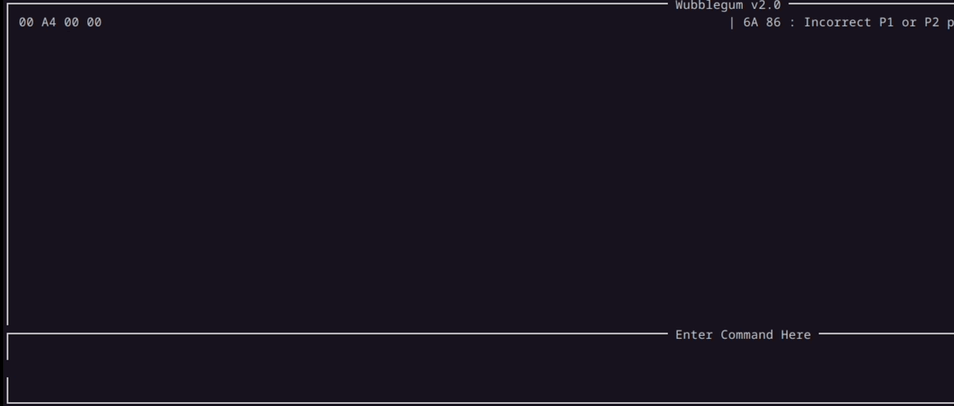
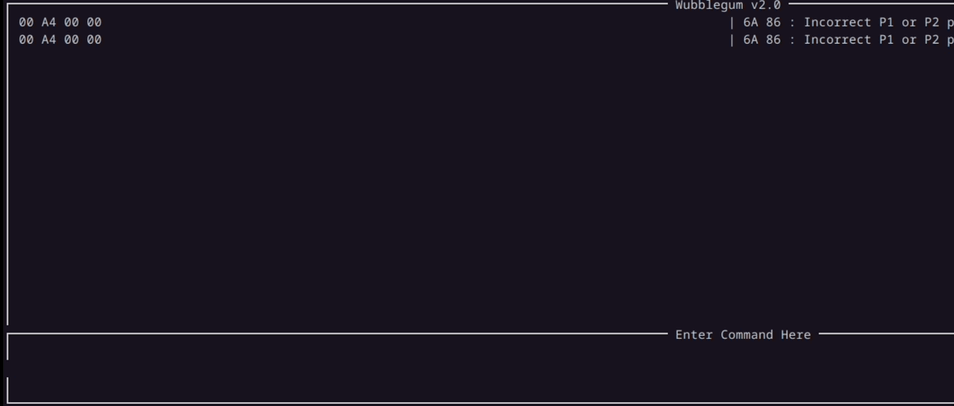
At the bottom of the program lies the “Console Window”. Here the user can have the opportunity of sending commands to the card themselves.
There are 3 layers of abstraction we implemented in the program to help lower the knowledge barrier for the user.

The first layer of abstraction... doesn’t have any abstraction at all.
But here you can actually construct a Command APDU packet in its raw hex values. For the demo above, the SELECT Command is being constructed in the bottom rectangle, separated by spaces.
The second layer of abstraction creates a hybrid approach where you can combine both English commands and hex values.
Here in the demo above, instead of supplying the first 2 hex values to denote the SELECT command, we simply just type “select” followed by a set of parameters.
The third layer removes hex values altogether.
So far, we have been supplying the “select” command with null parameters.
As the demo above shows, we can shorthand this by supplying the word “empty” before the command. This way, we can avoid typing out the parameters.

Another example of this layer, is the hardcoded commands in the program itself.
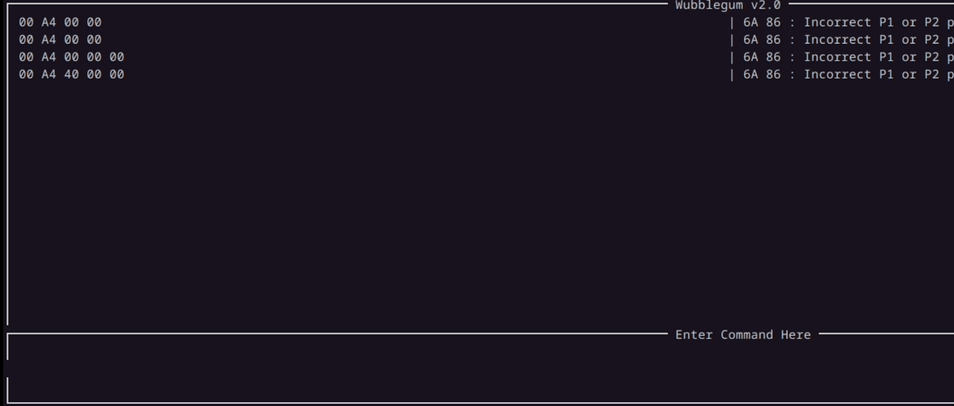
If you’d like to be more specific with the SELECT command, you could select a directory on the card.
You could do this by supplying the select command and the parameters “40 00”.
You could also do this by simply typing the command “select by directory” as shown by the demo above.
If you want to send data to the card, you can do this by supplying it right after your command. The program will automatically populate the appropriate components of the packet to denote the sending of data.
In the demo above, 4 bytes are being sent to the card. The log of the console shows the packet being sent in full, with the component denoting how many bytes are being sent automatically updated to 4.
Conclusion
And that is the end of the demonstration!
I’d like to give thanks my partner Daniel Bernard for his help in turning this project from an idea into a deliverable. I would also like to thank Daniel Crowley for the valuable oversight he gave while Dan and I were working on this!